Here at Scarlett Gasque, we’re obsessed with everything vintage, glamorous and beautiful and these styles tick all our boxes! The craftsmanship and dedication of the women who wrapped, curled and pinned their locks every morning are to be admired, and while this art form may have started in the past, we’re here to show you how you can rock it today.
THE VICTORY ROLLS

STEP ONE
Make sure your hair is clean and freshly washed, then gently comb and part down the middle. Next, you want to section off the part of the hair you want to work with. For classic Victory Rolls, section off the front part of your hair on either side, from the ear up at an angle. Make sure to tie the rest of your hair out of the way.
STEP TWO
Next, you want to tease* these two sections. To do this, take a comb and gently brush upwards to build texture and volume to the hair both on top and on the underside of the hair. Once it is all teased, flip your hair back to its original middle parting and apply hairspray. Take a soft bristle brush and smooth out the top of the hair.
STEP THREE
Now it’s time to roll baby! Take one of the front sections and pull it away from your head at a diagonal angle. Take the ends of your hair and loosely wrap it two or three times around two of your fingers. Then you continue rolling the hair inwards towards your head. This can take a few tries to get right so don’t worry if it doesn’t look picture-perfect on the first few attempts! Take some bobby pins and insert them into the roll to keep it secured. Do the same process on the other side.
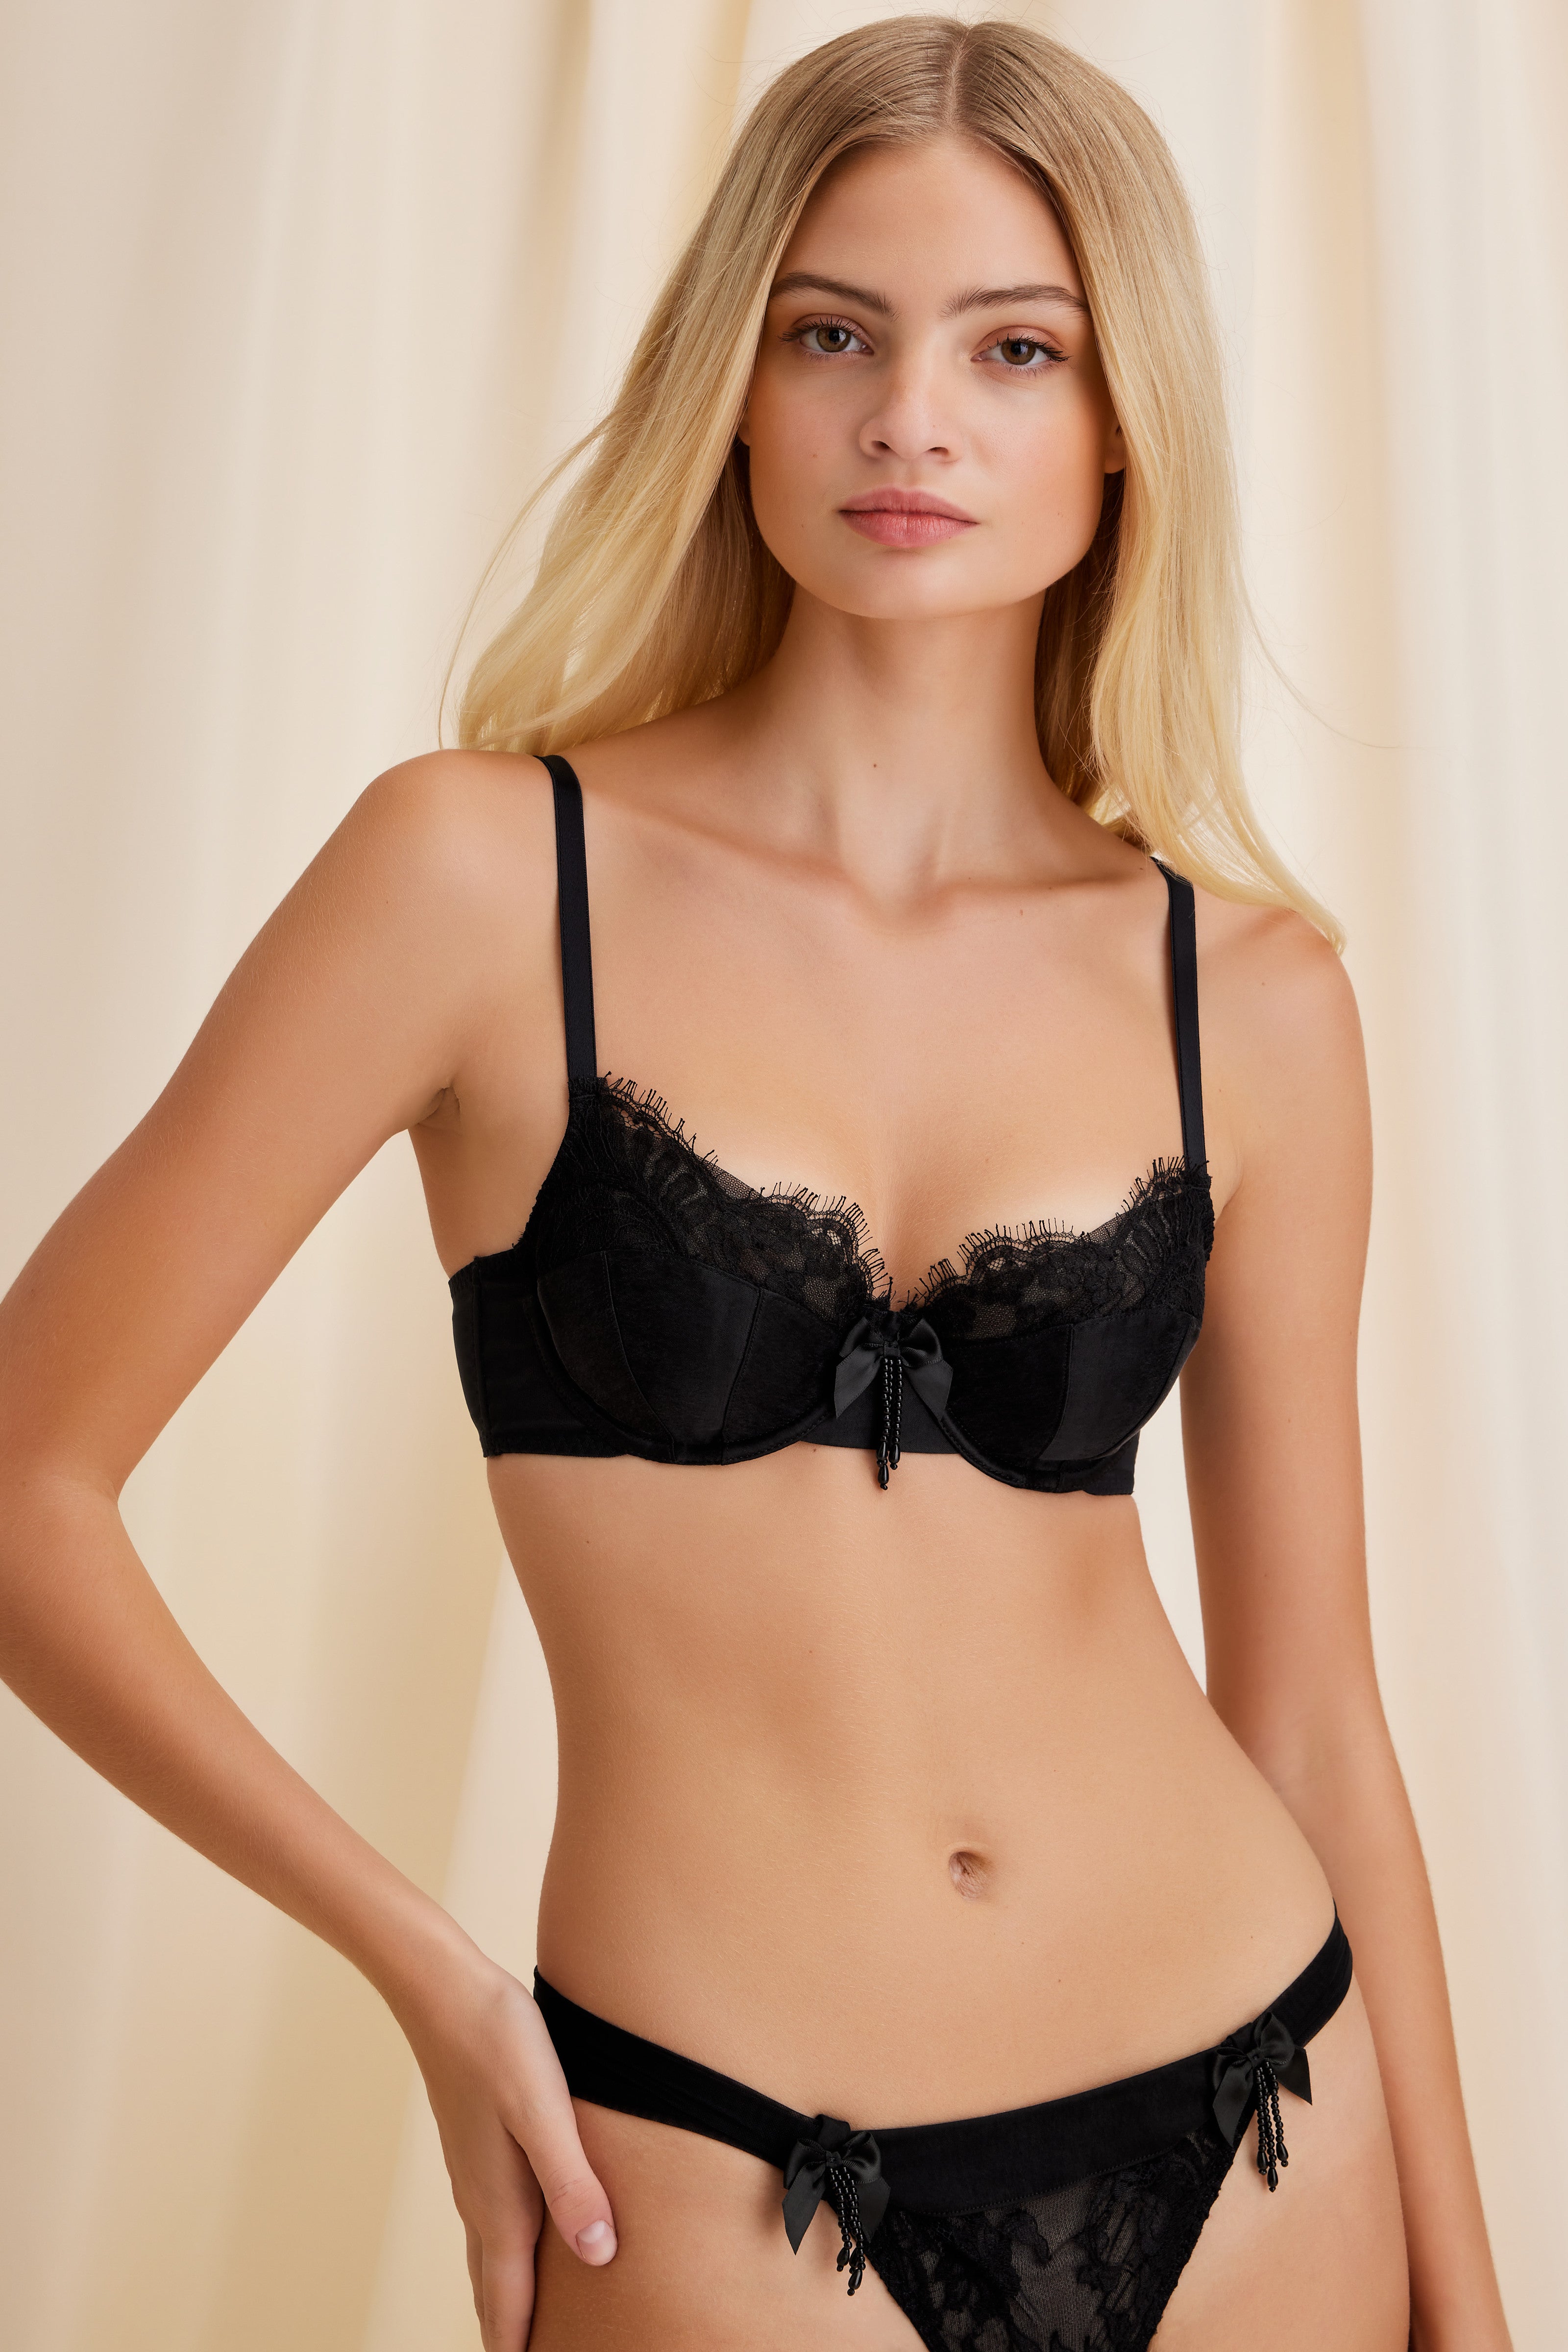
There you have it! For the leftover hair, you can decide how you want to style it to make it a unique look for you. You can leave it down, pin it into a neat bun, braid it or create a ponytail, it’s completely up to you! We recommend pairing this cute hairdo with our Poke-a-Dot three-piece set for a charming glamour look!

THE HOLLYWOOD WAVES

One of the most glamorous retro hairstyles is the peek-a-boo Hollywood Waves, made world-famous by actress Veronica Lake in the 1940s and reimagined in the late 1980s by animated icon Jessica Rabbit. The essence of this look is to create seemingly effortless and perfect waves in the hair, with one side slightly covering the eye for a sultry finish. This soft cascading hairstyle is perfect for adding some extra glamour to your look and is the easiest style to recreate. Check out the guide below for perfect and precise Hollywood Waves.
STEP ONE
To start this look, make sure you have clean hair and part it to one side. Then, you want to section off the hair and put it in rollers. If you want to wear this style for a day event, you can pop your hair into the rollers the night before.
STEP TWO
After a few hours (we recommend at least 6), take the rollers out and gently brush out the curls with a soft-bristled brush, starting by brushing the underneath of the hair. You want to be avoiding any volume at the roots as this wants to look super glossy.
STEP THREE
Now it’s time to focus on that signature big wave! Taking a comb, gently brush and work the larger front section of your hair, this will be your peek-a-boo side. Using big hair clips, place one level with your eyebrow and insert it into your hair. Grab a wide section of your hair and pull it forward away from your face and then insert a second large clip level with your jawline. The hair in the middle section should look like a semi-circle or a ‘C’ shape. You can repeat this process lower down if you have long hair to create a second big wave in the front. Then, take some bobby pins and on the other side of your hair, the smaller front section, pin the hair back behind the ears. Hairspray that hairdo to keep those waves looking fluid baby and then remove the larger clips.
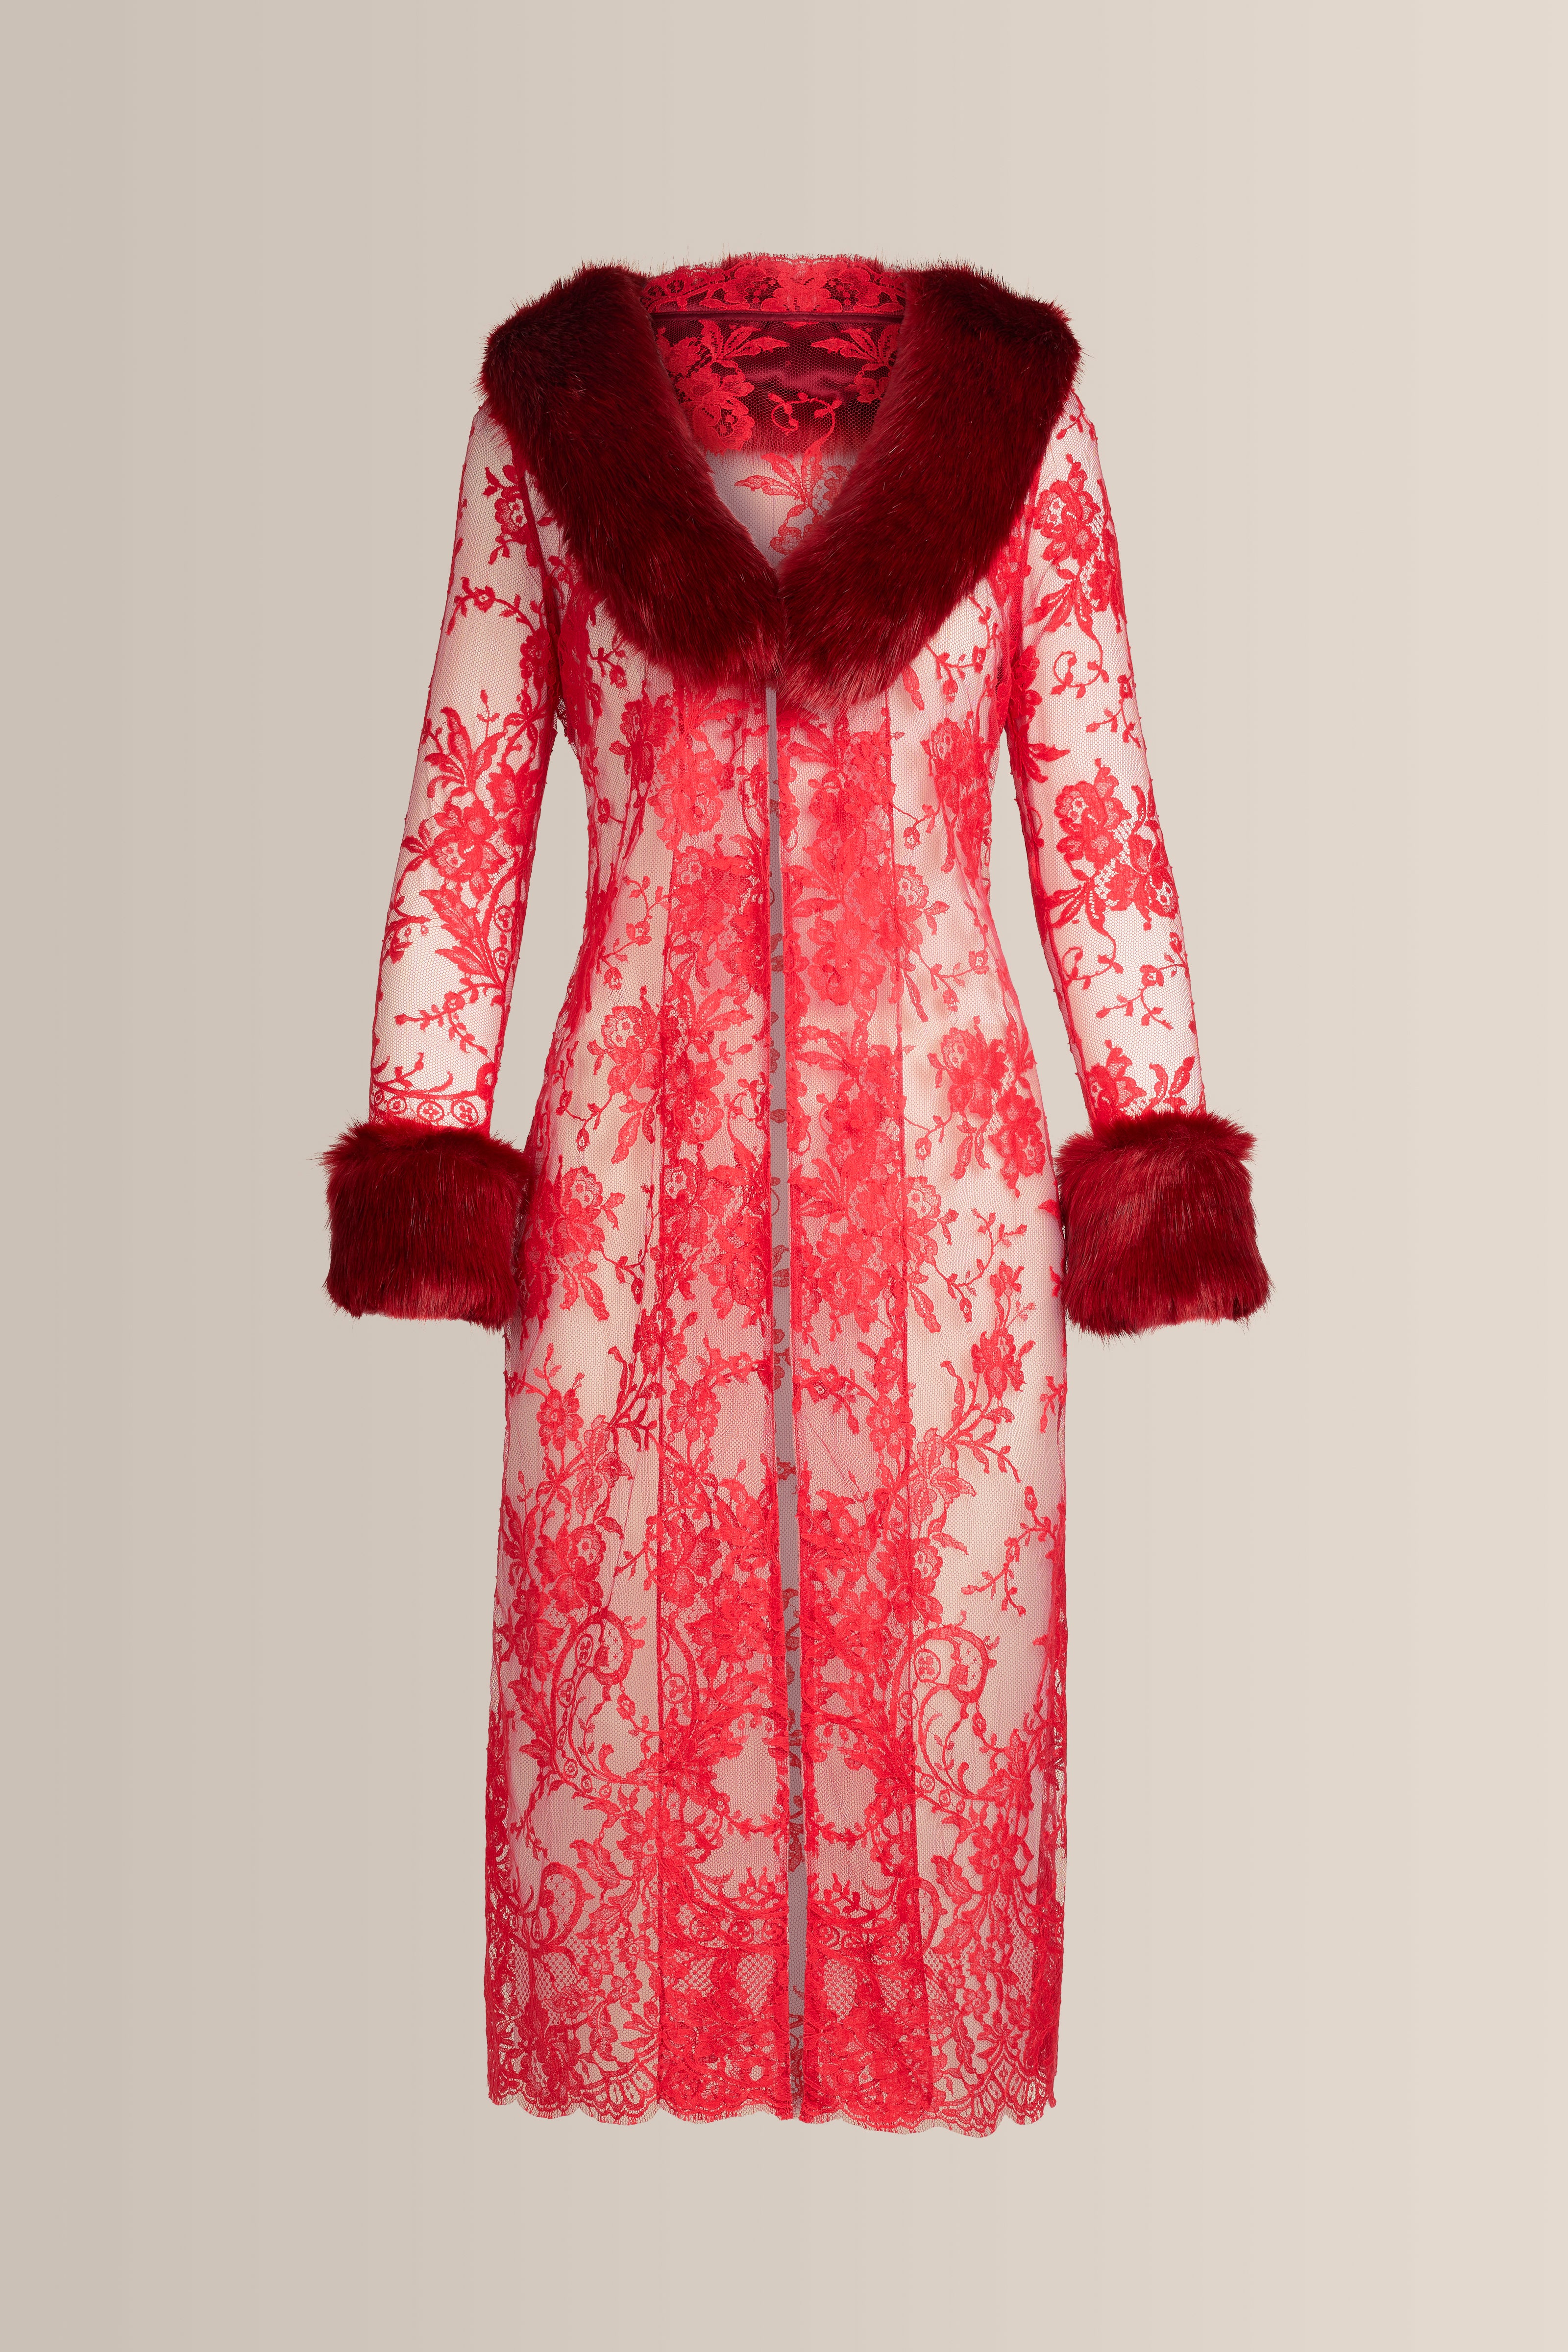
Voila! Perfect old-school Hollywood glam in three simple steps! Now you’re ready for the spotlight whether you’re going to a party, dinner or to a bar! Match the dramatic allure of this seductive hairstyle with the Dressing Robe & Scarlett lingerie set to really embrace your inner silver screen vixen!
THE BEEHIVE

An iconic pin-up hairstyle that can be worn in so many different ways is the beehive. Created in 1960, this classic up-do epitomises the decade and has been adopted and adapted by many celebrities such as The Ronettes, Brigitte Bardot, Audrey Hepburn and more recently Amy Winehouse. Distinctive for its mountainous shape accomplished by vigorous teasing, many women at the time would leave their hair in place for days on end, with the help of an excessive amount of hairspray. The beehive was so popular during the sixties because it could be adapted and stylized to suit the wearer, with options of a half-up half-down beehive or accessories such as headscarves, bandanas or even Victory Rolls (which you will now be a pro at!). Read below for Scarlett’s quick and easy instructions for achieving hair higher than heaven!
STEP ONE
Like always, make sure your hair is clean and if washed, blow dry for volume. Next, you need to section off your hair into three parts, two front and one back, with the front sections finishing behind your ear at an angle.
STEP TWO
Next, use a comb to gently tease the hair at the back of the head. You should be able to see the beginnings of a big beautiful beehive! Once you’ve teased the large back section of your hair, Take a soft bristle brush and smooth out the top of the hair, careful not to brush out your voluminous teasing. Once brushed, it’s time to start sculpting the hive!
STEP THREE
Once you have a beehive-like shape, begin to pin the hair in place using bobby pins. Then, take the smooth hair in the middle and front and pin it back towards your beehive. This will not only make your hair look larger and glossy, but the smooth hair will hide any messy parts of the hive. You can decide if you want all your hair slicked back towards the beehive, or you can leave some strands out front to frame your face.
STEP FOUR
Now we only have the finishing touches and customization! Now you have your glorious beehive, you can opt to either pin all the remaining hair up to create a bun beehive, or you can leave some hair at the back down for a half-up half-down look. To create a bun, gather the hair into a low ponytail, then twist the ponytail upward and close to your head. When it is tight, tuck the tips into it and secure it to your head with bobby pins. You can add a headband, scarf or bandana to make this style your own!
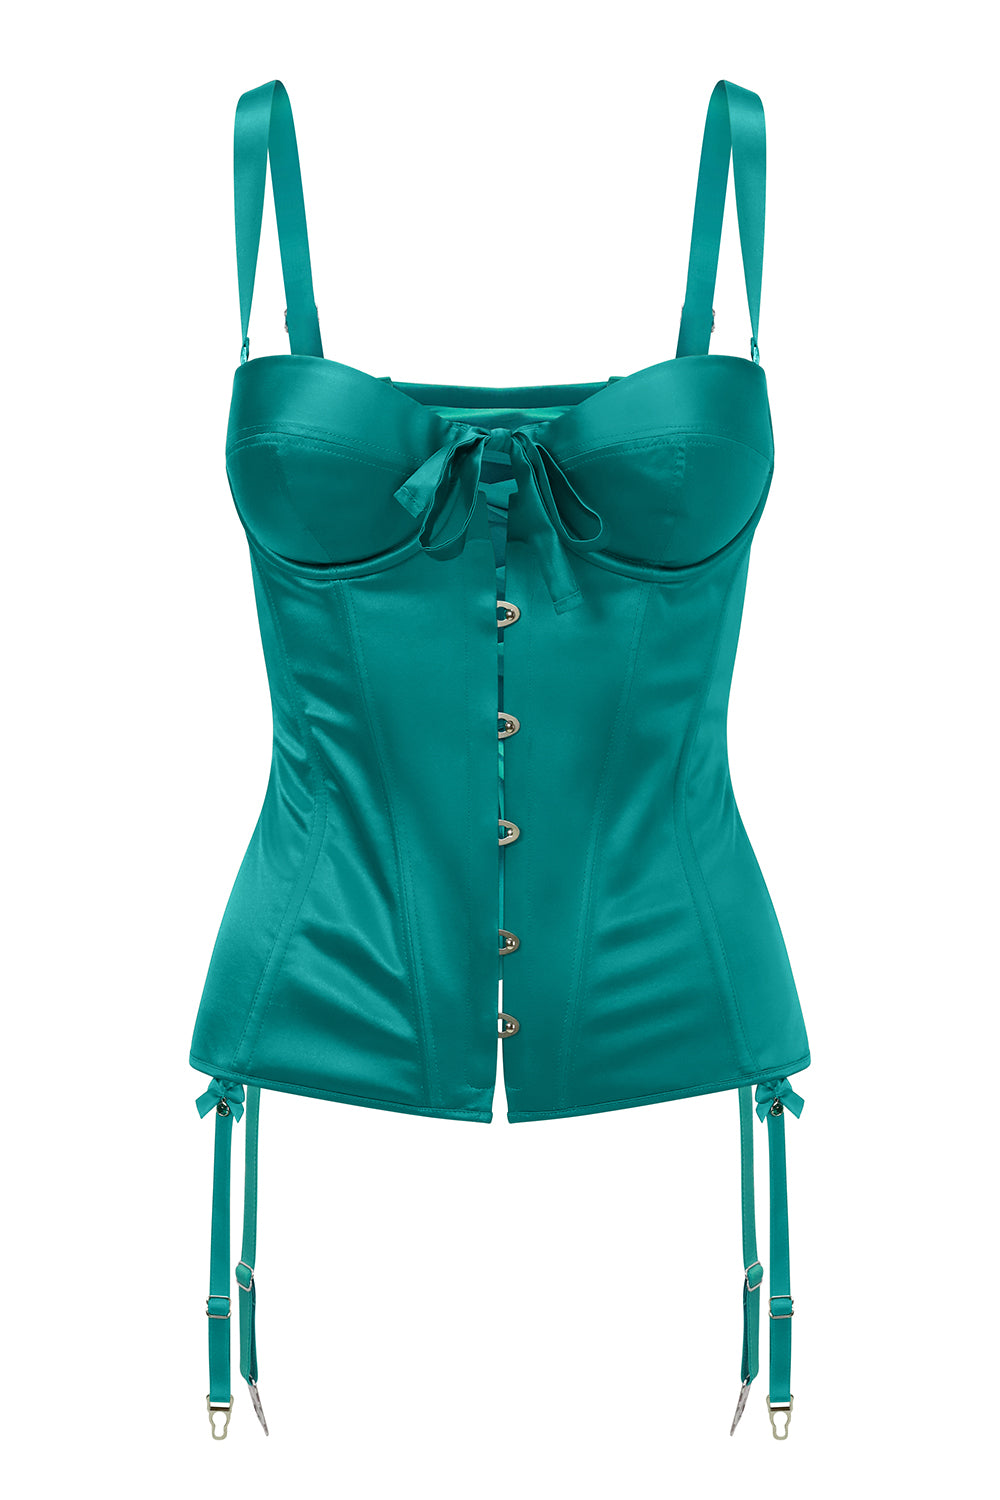
Ta-da! Now you can rock a retro pin-up look any day of the week! This hairstyle is great for adding drama and an iconic vintage effect. Just remember to duck when entering through doors! What would a beehive be without a little honey? We recommend coordinating your higher than life beehive with our yellow Gasque Lace Corset and matching thong to truly create a buzz…
*GASQUE GAL’S TIP! Teasing or backcombing the hair is when you take a fine comb and very gently comb the hair downwards, towards the root. You want to do this only with the hair close to the head, usually about 3 to 4 inches. This process creates texture and volume to help us create big beautiful hair!


